
Recycling an old milk carton into a bird feeder is an excellent way to welcome feathered friends to your yard while also engaging in an eco-friendly project.
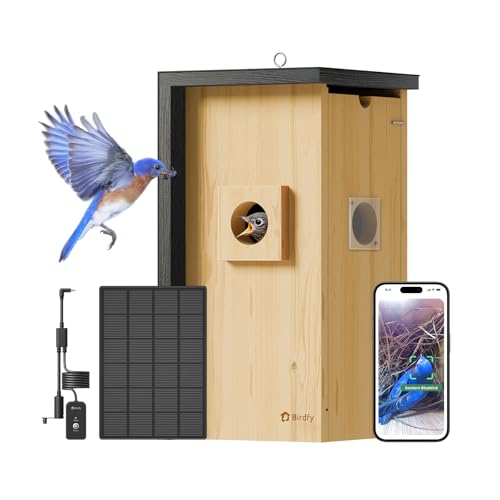
Birdfy Solar Powered Bird House with Camera
Check PriceIn this guide, we’ll walk you through the simple steps to create your own bird feeder, just as demonstrated in a popular YouTube video. Whether you prefer watching or reading, you’ll find the process straightforward and enjoyable.
Save this article for later so you don't lose it. Enter your email and I'll send it to you now—plus you'll get my favorite backyard birding tips delivered to your inbox.
What You’ll Need
- Empty milk carton
- Scissors
- Pencil
- String
- Bird seed
- Tree branch
- An adult (optional but recommended for kids)
Step 1: Cut Holes in the Milk Carton

The first step in creating your bird feeder is to cut holes in the milk carton. These holes need to be large enough to allow the birds in your neighborhood to easily access the birdseed inside.
Get our free Hummingbird Attraction Guide! Plus, we'll send you our best tips for attracting more birds to your yard.
- Get your empty milk carton: Make sure it’s thoroughly cleaned.
- Mark the spots: Use a pencil to outline where you will cut the holes.
- Cut the holes: Carefully use scissors to cut out a hole in each side of the milk carton. If you’re a child, make sure to have an adult help you with this part to ensure safety.
Step 2: Poke a Hole for the String

Next, you’ll need to make a hole at the top of the milk carton to thread the string through, which will allow you to hang the bird feeder.
- Use a pencil: Carefully poke a small hole through the top of the milk carton.
- Ensure it’s centered: A centrally located hole will help keep the bird feeder balanced when hung.
Step 3: Insert and Tie the String

Now, it’s time to attach the string that will hang your bird feeder from a tree branch.
- Cut a length of string: Make sure it’s long enough to hang from your chosen tree branch.
- Thread the string: Insert one end of the string through the hole you made with the pencil.
- Tie the ends together: Securely tie the ends of the string together so it forms a loop.
Step 4: Fill the Carton with Bird Seed
Your bird feeder wouldn’t be complete without bird seed to attract those feathered friends.
- Open the carton: Make sure the holes you cut earlier are clean and accessible.
- Add bird seed: Pour bird seed mix until it reaches the holes in the sides of the carton. This ensures that the birds can easily reach the seeds.
Step 5: Hang Your Bird Feeder

The final step is to find a suitable location to hang your new bird feeder.
- Choose a tree branch: Find a branch that’s strong enough to hold the feeder and easy for birds to perch on.
- Hang the feeder: Use the looped string to hang the feeder from the branch.
- Wait and watch: Now, all you need to do is wait for some hungry birds to discover your creation.
Creating a bird feeder from a milk carton is a simple and rewarding project. It’s a fantastic way to introduce kids to basic crafting skills while also teaching them about recycling and caring for wildlife.