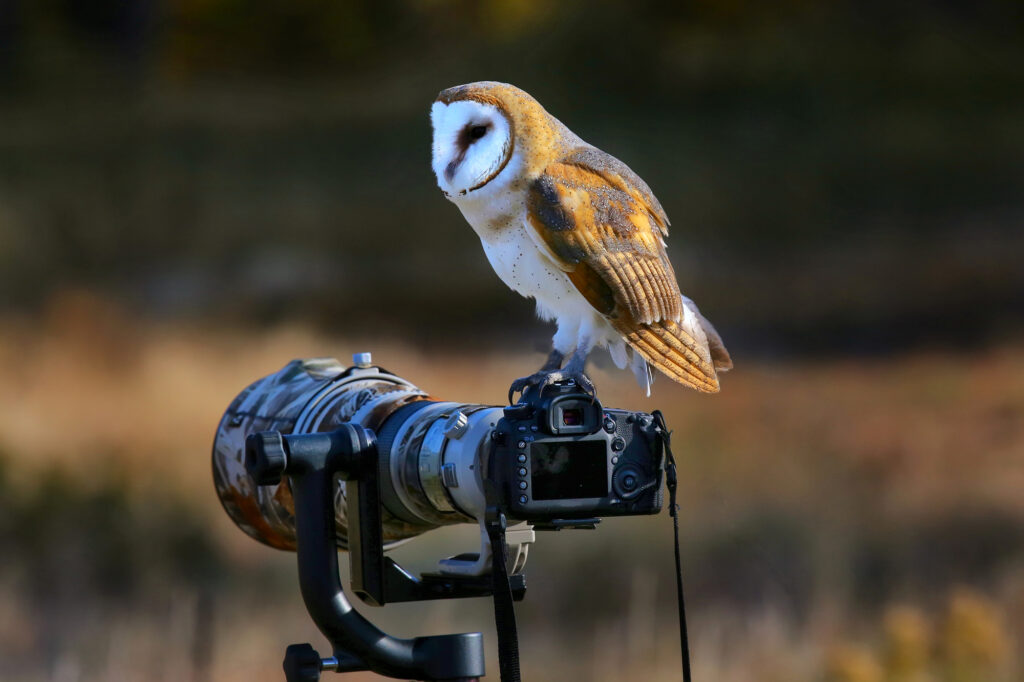
Birds are one of the most exciting subjects to photograph, but they can also be one of the most challenging.
They’re quick, elusive, unpredictable, and sometimes quite small.
If you’re just starting out photographing birds in the wild, don’t get frustrated. It takes time, but with a little practice, you can greatly improve your bird photography and take beautiful photographs.
The first question many people wonder is, ‘what settings should I use?’ We’ll touch on that shortly, but much of becoming a successful bird photographer happens before you ever touch the shutter button.
Finding the Best Times of Day
Maybe you’ve heard of “golden hour.” It’s the time of day just after the sun starts to rise and just before it sets when the daylight is softer than it is the rest of the day.
Photos were taken when the sun was high in the sky and often had harsh shadows or came out very dark. Even the best photographers will struggle to produce excellent images at high noon, instead opting for the soft, golden light.
Not only will your photos look better at golden hour, but wildlife, including many birds, is typically more active in the morning and as the sun sets.
If you happen to be out watching wildlife during midday, you can do a few things to combat the sun, such as using a polarizing filter, finding shady spots, or editing in post-production.
You’ll find that your photographs come out much better straight from the camera when done during the golden hour.
The golden hour is generally before the sun officially sets and the hour after it rises. However, don’t look at this as a rigid timeframe. That brings us to our next point.
Anticipate Where Birds Will Be
Chances are, you will see some birds while on a hike, in your car, or at your backyard feeders. However, if you can anticipate where the birds will be, you can put yourself in just the right spot and give yourself a little more control over your photos.
For example, let’s say that every morning, you see a hummingbird coming to your garden as you’re having your morning coffee.
Instead of running to grab your camera when you see the hummingbird, have it ready to go before the sun is all the way up. When the bird returns, you’ll be in the right position to take a great photo.
Knowing bird species’ preferred habitats and a little bit about bird behavior will help put you in a position to succeed. Figure out what kind of birds you’re looking to photograph, and put yourself there.
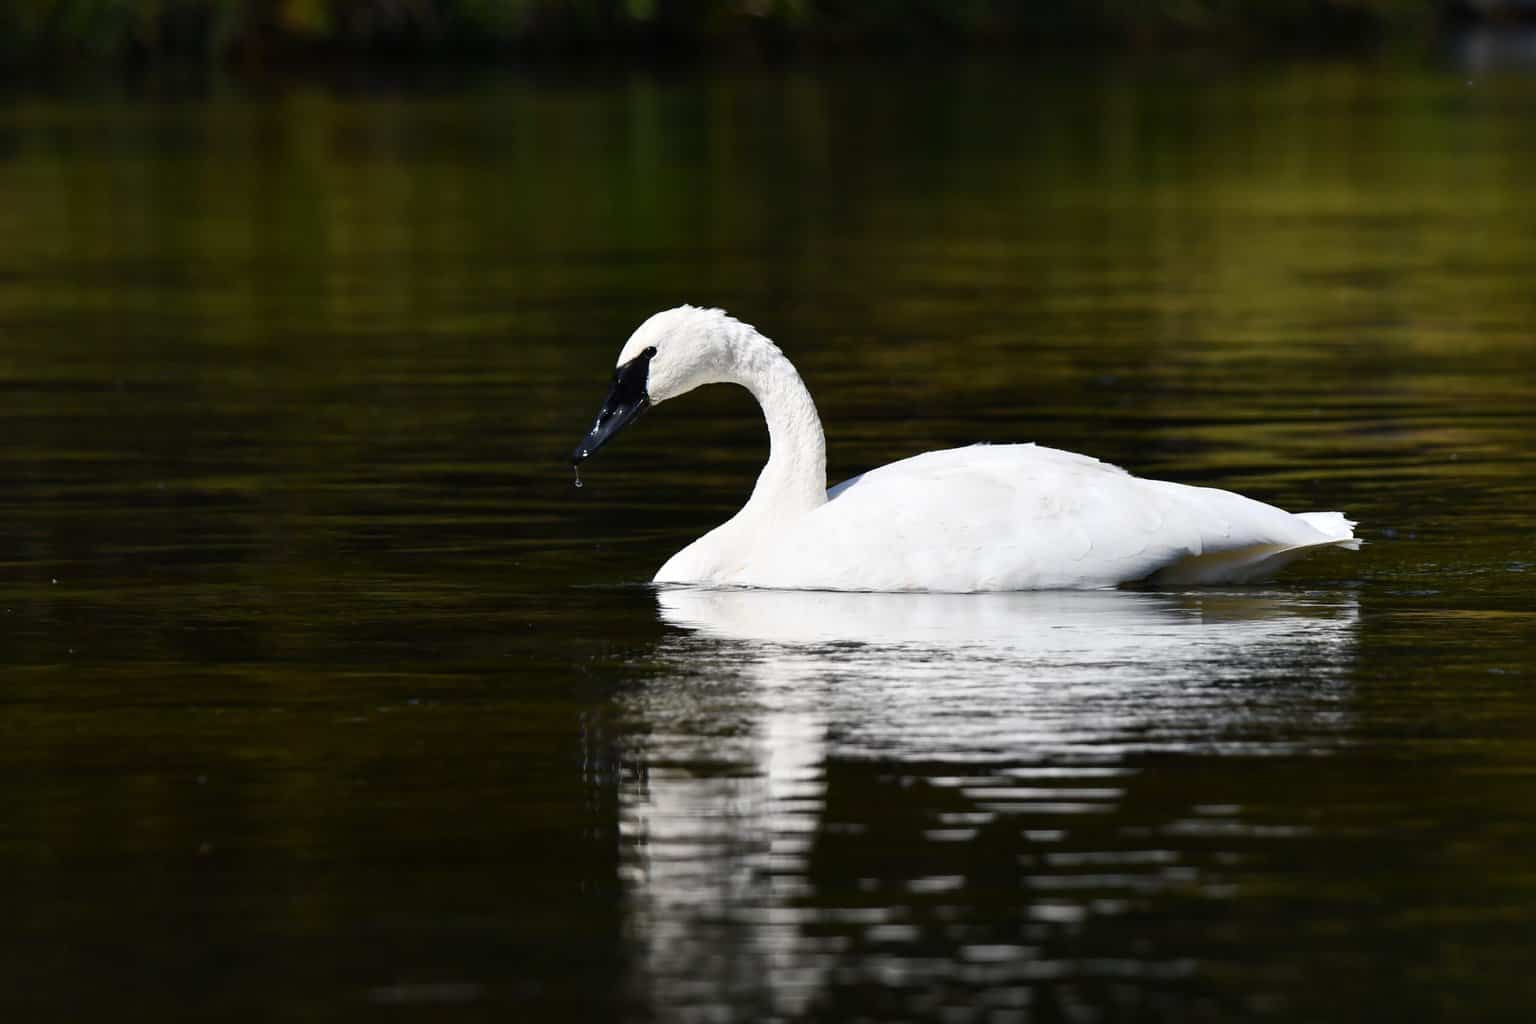
Find marshes, open fields, dense forests, or outdoor spaces and spend time there. Visit spots where you’ve often seen abundant wildlife with your camera to try and get a good shot.
Many trips out in search of wildlife may still be unfruitful. Wildlife is often unpredictable. But if you spend enough time outside in the right places, you’ll eventually find yourself amongst the birds and other wildlife.
What Kind of Gear Do I Need for Bird Photography?
Birds are difficult to photograph. They’re small and quick and often don’t allow humans to get super close, so as great photos as a fancy new smartphone will take, photos of birds will often disappoint.
If you want to take your photography to the next level, you probably need to purchase a birding camera and some gear.
You’ll want to start with a digital single-lens reflex (DSLR) or mirrorless camera. These cameras allow you to attach various lenses, including the telephoto lenses used for wildlife photography, to the body of your camera.
DSLR cameras are the go-to of many photographers, although mirrorless cameras are gaining steam among the public for their video quality and lighter bodies.
Even an entry-level camera isn’t a cheap investment, but when combined with the right lens choices to set you up for success, it can make all the difference in your photography.
The top camera companies are Canon, Nikon, and Sony. If you’re just getting your start, purchase an entry-level camera. Don’t go straight to the fanciest camera thinking it will take your photos to a professional level.
You can always upgrade down the line if you find that the camera isn’t meeting your needs. Even purchasing your camera refurbished from a retailer or company can save you some money. Both of the first two camera bodies I purchased were refurbished models.
Next, you’ll want to purchase a reliable telephoto lens. The lens’s focal length is listed in millimeters, which is the distance between the lens and the image sensor.
You don’t really need to know that, however. Just know that the higher the number, in millimeters, the more “zoomed in” your subject will be, in simplest terms.
You could purchase a 600 or 1200-mm lens right off the bat, but they are quite expensive. I would recommend starting off with something like a lens with 300mm capabilities.
Once you’ve gotten used to photography and what kind of settings you’re going to be shooting in, you can consider larger lenses or a teleconverter to get you “closer” to your subjects.
It’s important to mention that Nikon, Canon, and Sony lenses are incompatible with each other’s camera bodies. Make sure you’re buying a compatible lens for your camera body before pulling the trigger.
If you’re unsure, a local camera shop can help you make the right decision.
Companies like Sigma and Tamron make lenses for Canon, Nikon, and Sony bodies that can save you some money. Depending on your budget, these lenses can help you get more bang for your buck.
A tripod may also be helpful, but it’s not an absolute necessity for someone just getting started unless you want to focus on wildlife videography instead of photography.
All Right, I Have a Camera. Now, What Settings Do I Use?
Admittedly, finding the right camera settings for bird photography can be very intimidating. What do the letters A, M, P, and S stand for? What about ISO and all the other potential setting combinations?
First, here’s a quick rundown of the most basic settings you should know if you’re just getting started.
For starters, there’s no shame in starting out using auto mode. Some people may tell you otherwise, but while learning the ropes of identifying subjects, composition, and lighting, putting your camera in auto mode can give you one less thing to worry about.
Once you’ve started to understand your camera a bit, you can start to play with your settings and truly master the craft.
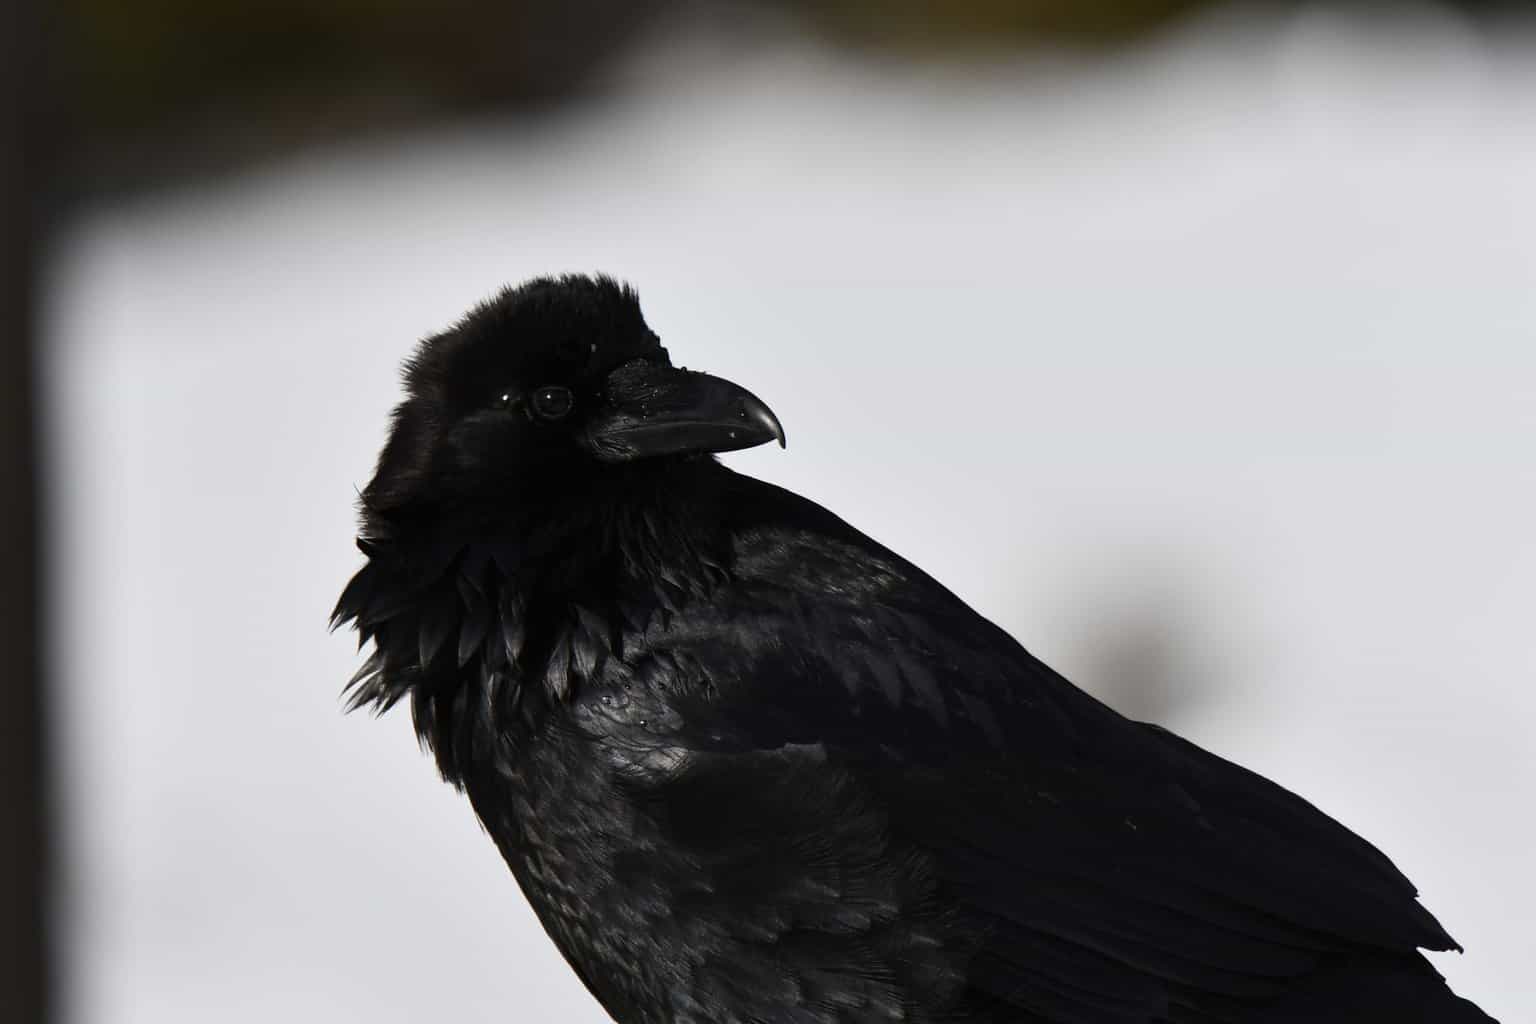
When you’re first acquainted with your camera, you’ll see the letters M, A, P, and S on your camera’s command dial if you’re using a Nikon or Sony or M, AV, TV, and P a Canon.
M stands for manual, meaning you will control the aperture (the amount of light your camera lets in) and shutter speed (how long the shutter is open when taking a picture).
With aperture priority (A or AV) enabled, you will control the aperture but not the shutter speed.
In shutter priority mode (S or TV), you control the shutter speed while the camera adjusts the aperture.
There’s no one-size-fits-all settings combination for bird photography. It depends on lighting, whether trying to capture birds in flight or using a tripod.
If you’re not using a tripod, you’ll need to set your shutter speed to reduce the blur in your images to 1/500 of a second or even faster.
Sometimes, certain situations, like capturing darting birds in flight, require shutter speeds of 1/1000 to 1/2000 second or faster. For birds like hummingbirds, I sometimes shoot at a range of even as high as 1/5000.
As for the aperture, start somewhere between f/5 and f/6.3. As your shutter speed increases, you may need to adjust your aperture to let more light in.
Some lenses don’t allow you to go much lower than f/5, so consider that when purchasing a new lens and when out in the field.
Another key thing to consider is ISO, which is light sensitivity. The higher your ISO, the brighter your photos appear, but if you get too high, you may also get photos with a little grain in them. Stick to an ISO somewhere from 200 to 800, toying with the settings to find what works best for you.
There is also an option to leave your camera on auto ISO, which tends to work pretty well for a beginner bird photographer.
To recap, start here and adjust from your starting point based on your conditions:
- Shutter speed: 1/500 for perched birds, adjusting if birds are moving or in flight
- Aperture: f/5.6
- ISO: 400, or leave on auto
Other Tips
Manual vs. Autofocus
When photographing moving animals such as birds, autofocus is typically preferable. It can be nearly impossible to focus on a bird in flight while tracking it through the air.
If you’re photographing a perched bird that you don’t anticipate moving quickly, such as an eagle on a nest, feel free to shift into manual focus mode if you prefer it, although autofocus will still get the job done.
The Rule of Thirds and Photo Framing
If you memorize one “rule” in photography, it should be the rule of thirds.
The rule of thirds divides an image into thirds, then places key components of the photo on the intersections of the vertical and horizontal lines.
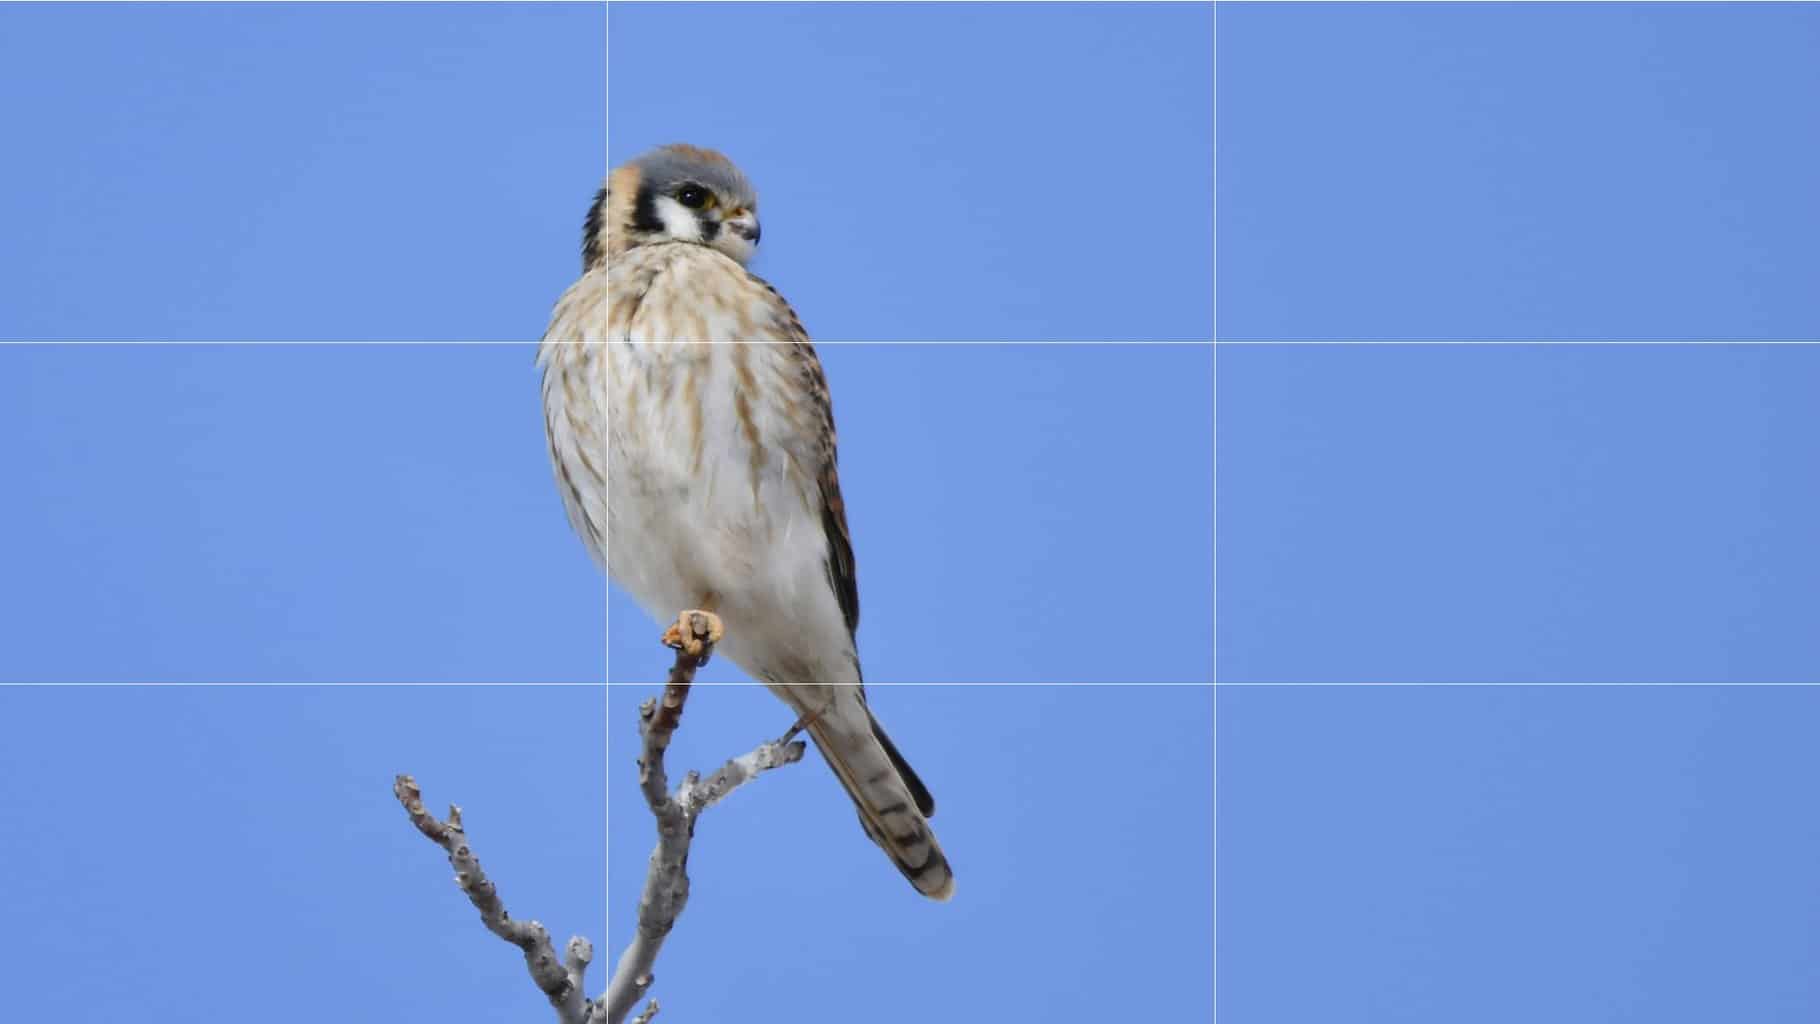
It may seem intuitive to put the bird right in the center of the photo, but images that follow the rule of thirds are more dynamic and aesthetically pleasing.
Get Outside!
When I first started taking photos, it was tempting to sit behind my living room windows and wait for birds to show up at the feeder, then shoot through the glass windows.
The photos turned out OK, but in order to get sharp photos and the experience of getting close to animals to get your shot, spending time outside is unmatched.
Some people will utilize a blind in order to camouflage themselves and get closer to wildlife with their cameras, but it’s not absolutely necessary.
“The best camouflage is ‘sit down and be quiet,’” legendary hunter Fred Bear is sometimes quoted as saying.
A Quick Note on the Ethics of Bird Photography…
Getting close to wildlife can be exciting and make your photos even better, but giving wild animals, including birds, their space is important.
Don’t get too close to wild animals. It’s potentially dangerous for you and them. If a wild animal feels frightened, it may act unpredictably. Additionally, getting too close to wildlife can cause them to lose their fear of humans.
When you’re outside, you are a visitor in their environment. Keep a safe distance and keep wildlife wild!
Fix Little Mistakes in Post-Production, but Don’t Over-Edit
One of the great things about modern photography is the ability to edit photos quickly and easily. Professional photographers use top-of-the-line software and tools to fix their photos, but those available to the average Joe can work wonders.
Dark photos can get lighter, you can fix minor color issues, and you can crop images just how you want them to be composed. As a new photographer, it can be tempting to over-edit, especially when it comes to color.
With just a few clicks, your average sunset photo can burst with vibrant colors. A red cardinal can look like a painting. Autumn colors get brighter.
I usually try to remain true to the wildlife and setting I was in when I took the photo, keeping the colors as close to reality as possible.
That being said, the beauty of photography and art is all in the eye of the beholder. It’s your art, and editing however you see fit is all part of the process.
Find Your Own Style
Do you like shots of birds in flight? Close-up portraits? Black and white images? Something entirely different?
Not everyone likes the same things. Find what you enjoy and do it, even if it’s not exactly the same as what everyone else is doing.
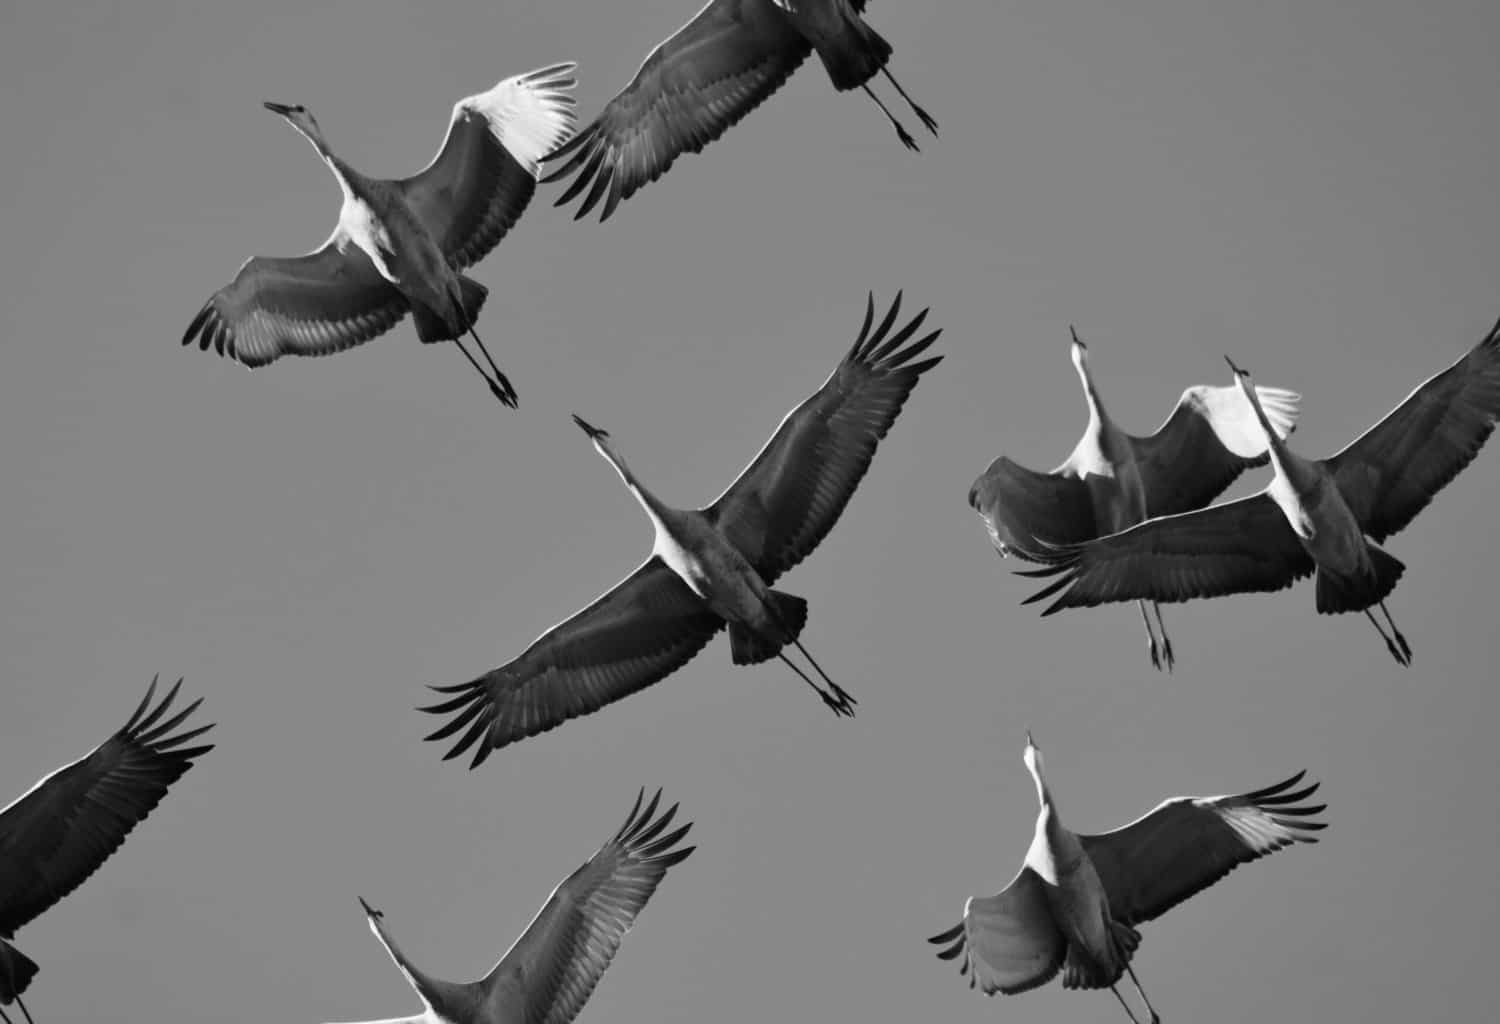
Don’t Get Frustrated. Have Fun!
A lot of times, over-editing comes as a result of not quite getting the look you desired from the original camera click.
This can be really frustrating, especially when you see what the pros can do with a camera in their hands or even what people on your Facebook page can capture.
Remember that those people couldn’t do that the first time they touched a camera. Taking beautiful pictures takes time and practice.
I am not the greatest wildlife photographer on the planet, but I have fun working on getting good shots of wildlife and sharing them with family and friends.
As long as you’re having fun, don’t stress whether your photo could grace the cover of National Geographic Magazine. Becoming a great bird photographer takes time.
Happy birding!

