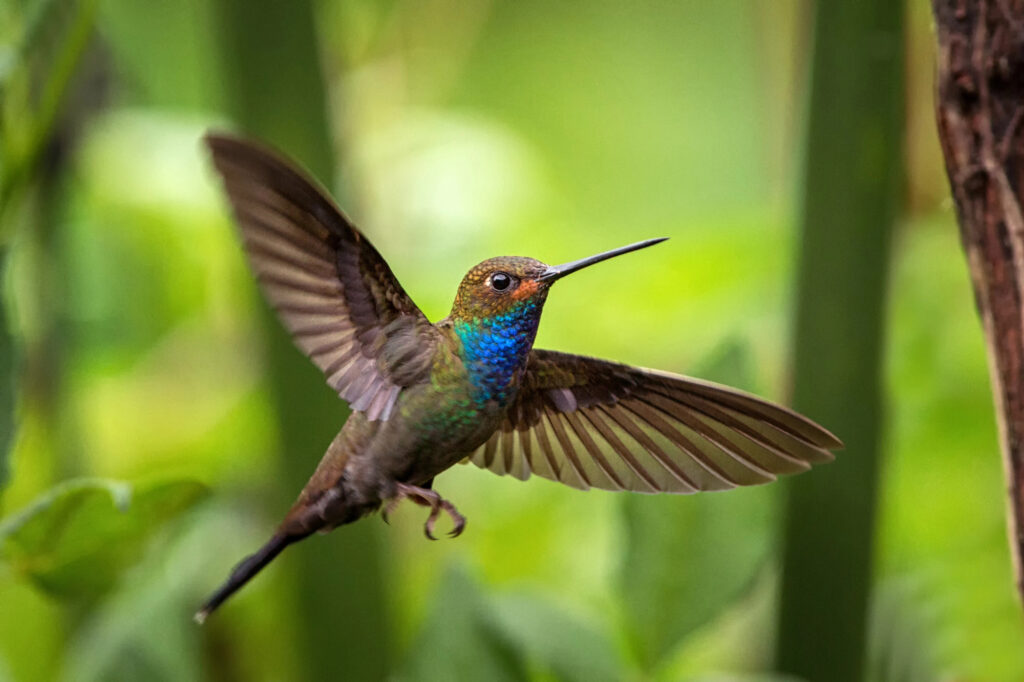
As a lover of photography and birding, photographing hummingbirds is one of the most exciting challenges around. My interest was immediately captured by this fantastic YouTube video from an expert bird photographer.
Hummingbirds are particularly tricky to snap photos of thanks to their rapid-fire wingbeats and quick, darting movements. In fact, their wings can move over 5,000 times per minute!
Fortunately for birders, there are a few technological solutions for that. Let’s take a look at this fascinating video by Stefano Ianiro and pick up a few tricks for photographing hummingbirds.

Observe Your Subject
The first tip on board may seem obvious, but it’s one of the best foundations you can lay for capturing a hummingbird in flight. If you don’t understand how hummingbirds interact with their environment, you won’t be able to predict where they’ll fly or land!
Stefano states hummingbirds are creatures of habit — they don’t usually stray from their routines. As such, consistent observation around hummingbird feeders or flowers will help you anticipate details like:
- Looping behavior like flying, landing, and flying again
- Their favorite perch
- Which flowers they gravitate to
Once you’ve caught onto their pattern, you’ll be able to improve your reaction time to snap faster photos and get stronger shots. I’ve noticed hummingbirds often return to the exact same area over and over again, too, so you don’t usually have to leave your spot.
Use the Right Shutter Speed for the Right Situation
His next expert tip is to become comfortable with different types of shutter speeds. Choosing the wrong one may leave you with blurry hummingbird photography and a disappointing photography session.
While he discusses the benefits of using faster shutter speeds to capture hummingbirds’ quick flight patterns, they’re not always the best. Case in point: the below photo he took.
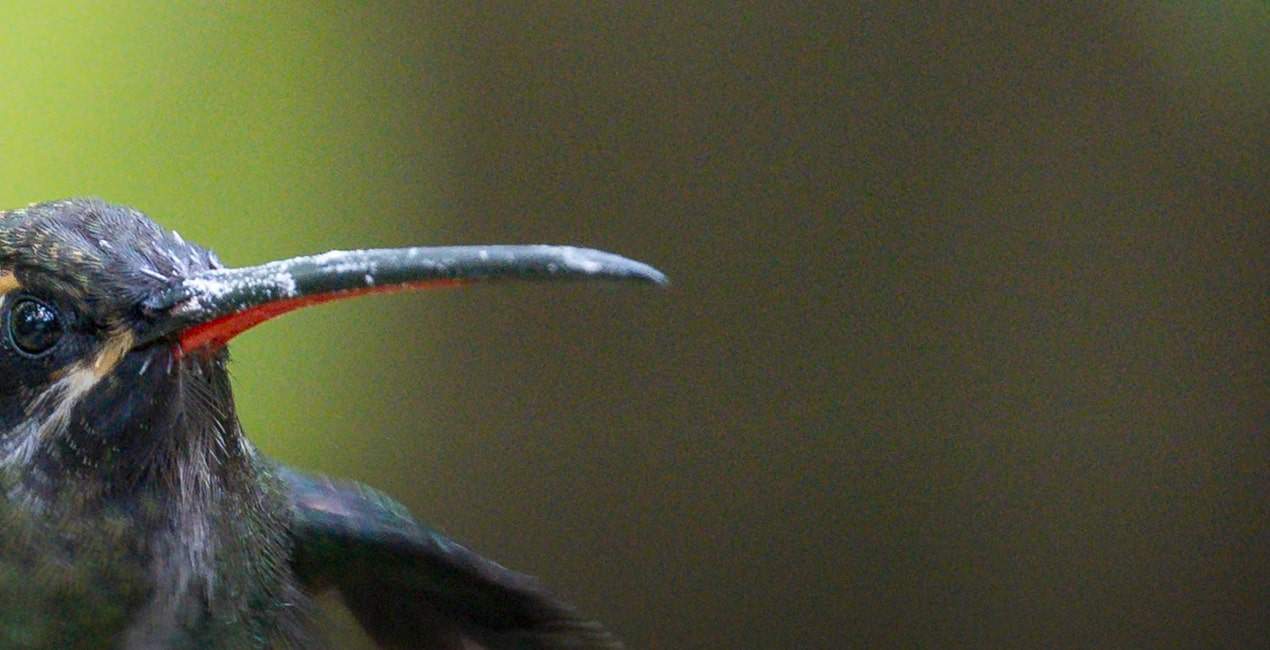
He noticed his photos tended to look pretty grainy when he bumped up his shutter speeds to 1/2000ths to 1/3200ths of a second. Since there wasn’t much light in the jungles he was traveling in, the camera would overcompensate to try and capture the environment — hence the grain!
Grainy photos are pretty frustrating, especially since I’ve worked in commercial art for years and grain can make your work look cheap. Let’s see how he avoids this annoying issue below.

His biggest tips for narrowing down which shutter speeds to use are:
Use 1/500th for a Perched Hummingbird
Since a perched hummingbird isn’t beating its wings or zipping around, you can use a slower speed. This shutter speed. You can go a little lower than this and still get a sharp, appealing shot.
Hover Between 1/500th and 1/1000th of a Second for Semi-Action
Is the hummingbird ruffling its wings or leaning forward to drink from a flower? Short, simple movements need a slightly higher shutter speed, so experiment in this range until you find what works.
Another method I like to use is to shoot short videos and pause periodically. This is a great way to freeze on shots you like or observe the hummingbird’s behavior for later.
1/1000th is Best for Hummingbirds in Flight
Last but not least, save your fastest shutter speed for when hummingbirds are zipping around. He states he sometimes uses 1/2000th of a second to ‘freeze’ the hummingbird in mid-air.
Don’t Forget Your Focus Limiter
If you’re not super familiar with the ins and outs of your telephoto lens, he recommends using a focus limiter. This simple tool tells your camera to only focus within a certain distance.
The reason he recommends this tool for hummingbird photography, in particular, is because it keeps your camera from being confused. Since hummingbirds like to zip in and out of the frame, using a focus limiter will keep your camera view from being ‘wobbly’ as it attempts to refocus.
This tool will save you time having to reconfigure your camera’s focus and increase your chances of sharper hummingbird shots.
If you don’t have a focus limiter, he highly recommends the next tip to improve another aspect of hummingbird photography.
Give Your Autofocus a Point of Reference
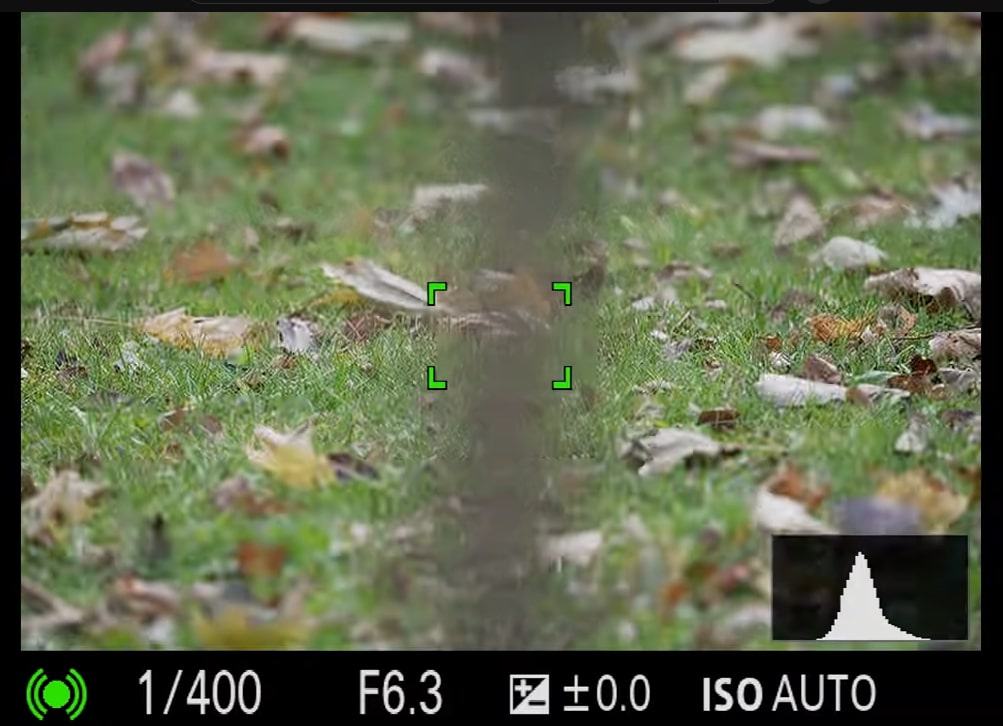
You don’t have to be an expert in lens aperture or wildlife photography to implement this tip. Stefano states that a large point of reference for your camera will keep it from constantly refocusing.
Let’s take a look at one of the photos he took below. He noticed that every time he tried to take a photo of a hummingbird on a very thin branch, the camera had a hard time focusing.
The branch was simply too thin and small, which didn’t help differentiate the camera’s focus from the already thin and small hummingbird.
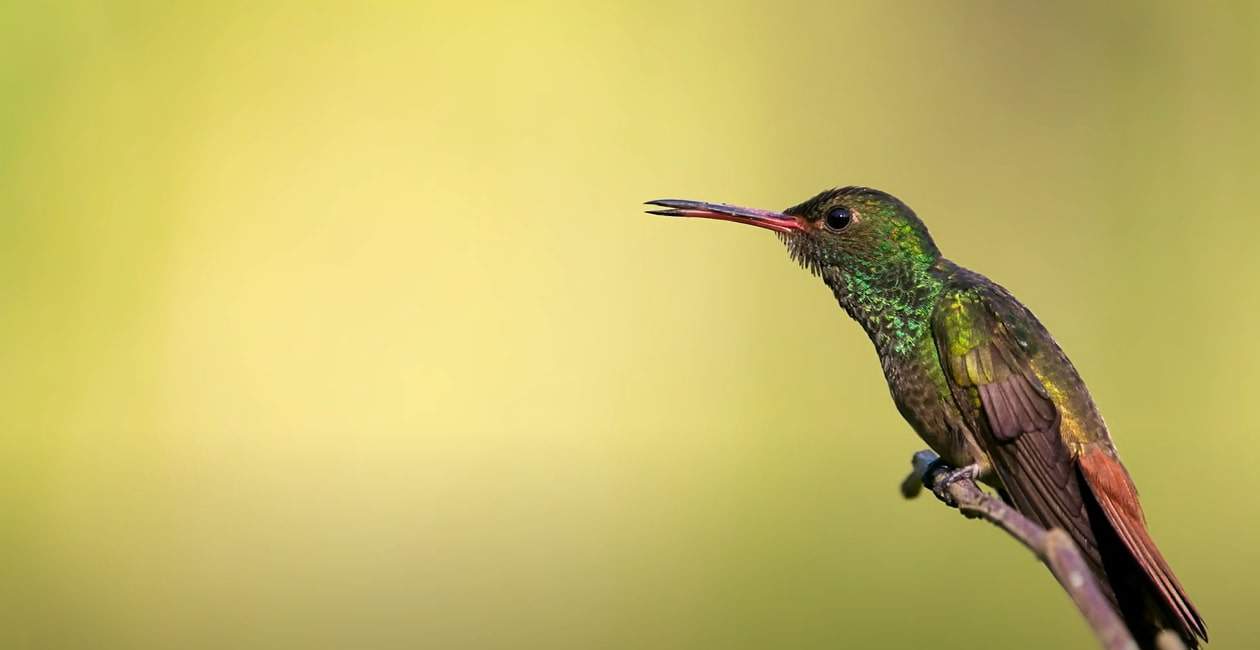
To compensate for this, Stefano would move his camera so it would see the rest of the larger branches and the tree stump. Instead of manually adjusting his camera, the autofocus feature easily recognizes the larger subjects and re-focuses by itself.

Need one more tip? If you have a hummingbird feeder, use the feeder as your re-focusing object.
Pay close attention to the hummingbird’s pattern as they dip in and out of the sugar water. When the bird takes a drink, turn your camera on the feeder to help it refocus — once it backs away, turn your camera to the hummingbird and snap a shot!
If you lose focus again, just move your camera back to the hummingbird feeder. This habit will help your camera compensate if you don’t have a focus limiter.
Burst Images Are One of Your Best Tools
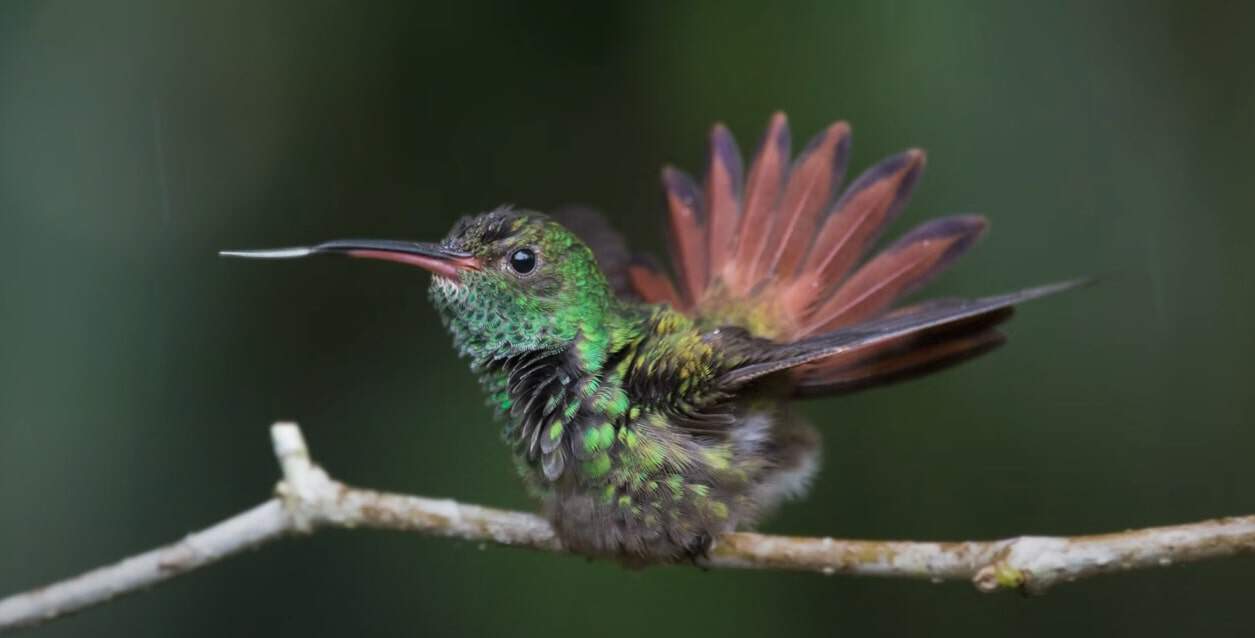
A big reason why hummingbirds can elude even experienced wildlife photographers is just how much they change under the light. Their fast movement and colorful feathers can make them look dramatically different from shot to shot, so use burst images.
You don’t need expensive cameras to enjoy this feature — I have an older Samsung phone that still has a burst image tool. Stefano highly recommends using burst images when hummingbirds are doing things such as:
- Chasing other birds
- Ruffling their feathers
- Stretching their wings
- Shaking themselves off
- Cleaning themselves
Leave a Little Extra Room Around the Subject
High-speed photography isn’t enough to capture a hummingbird — you also need to apply artistic principles like visual space. I’m particularly fond of this tip as a photographer and illustrator who loves studying composition in art, including bird art.
Composition is a term that refers to how all the working parts of a visual come together. The subject of your photo (in this case, a hummingbird), the background, and details like a tree are all parts of your composition.
For example, let’s take a look at another one of Stefano’s beautiful hummingbird shots.

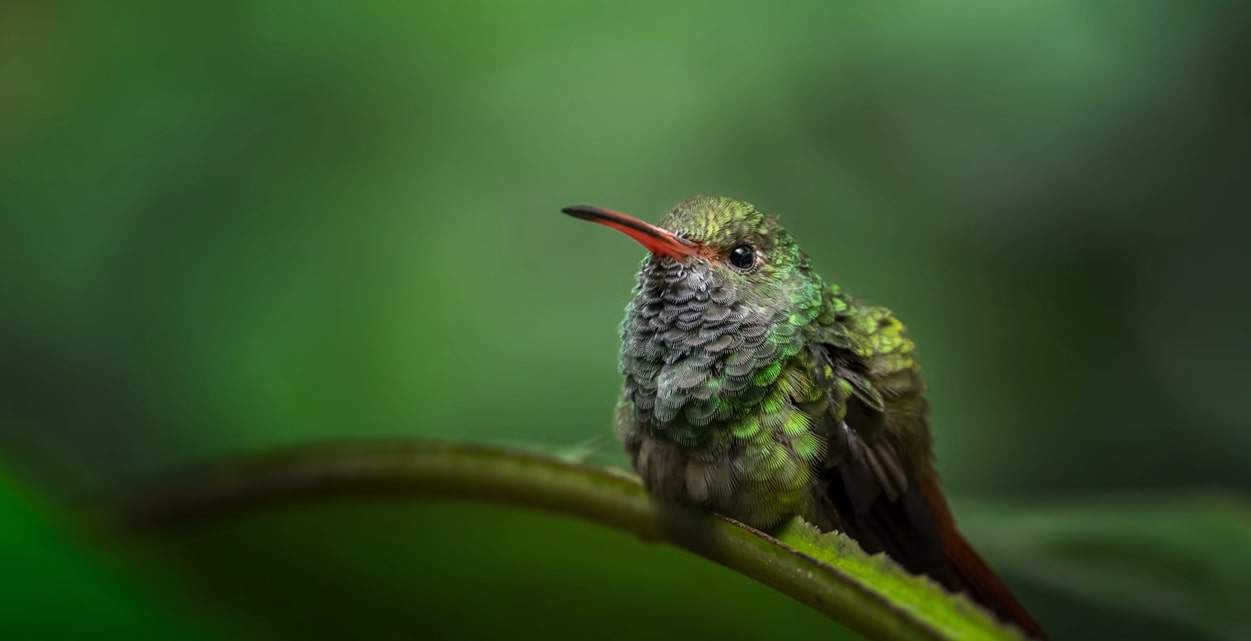
This photo is incredibly pleasing to look at due to how it follows classic composition principles like the rule of thirds. The blurred elements and light background help your eye travel naturally to the richly emerald greens and violets of the hummingbird.
Now let’s take a look at a lackluster example of composition.
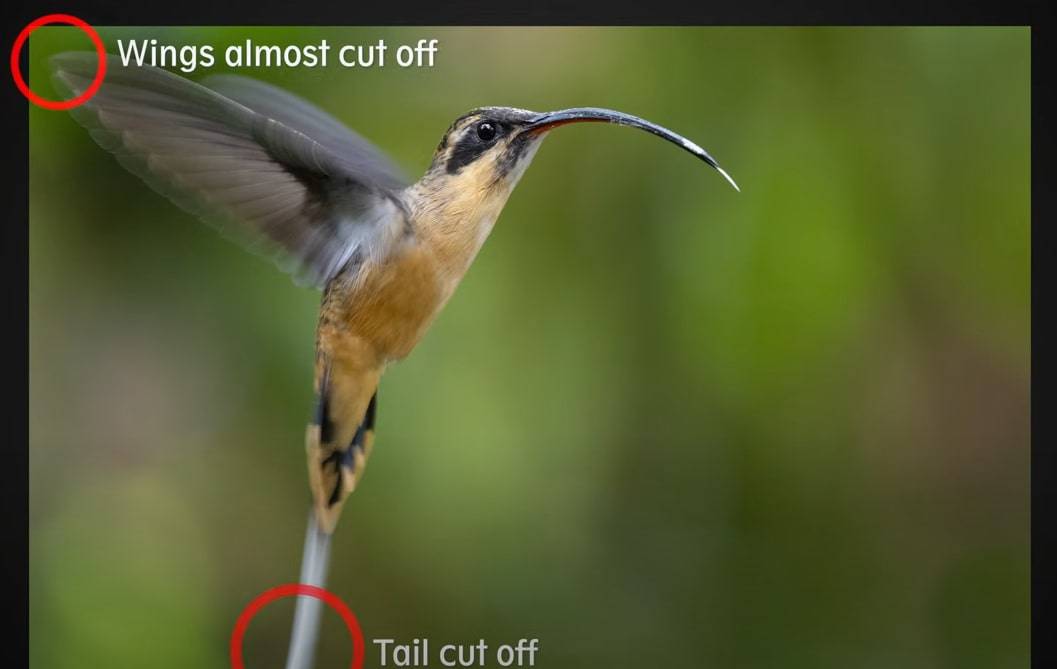
Stefano talks about how this photo looks a little awkward since the bird’s feathers are cut out of the frame. A little more room would give the viewer some breathing room in the composition so everything doesn’t feel too cramped.
Try Snapping Photos on an Overcast Day
While you may be tempted to take photos on a bright day to get some deep shadows and vivid light, Stefano recommends otherwise. He suggests overcast, cloudy days that reduce your risk of an overexposed shot.
For those not in the know, an overexposed shot is any photograph that’s far too bright, making your subject look pale and awkward. The other extreme is a shot that’s far too dark and drowns out the beautiful details of your hummingbird’s feathers or beak.
While I’m a huge fan of golden hour, this is a solid tip for both beginner photographers and photographers on a tight deadline. An overcast day ensures you’ll have even lighting at all times — no annoying glare or surprise shadows.
He also recommends photographing hummingbirds in the rain! Not only is the day likely to be overcast, but you can also practice capturing rain droplets for a truly dramatic shot.

Be Creative!
The last tip is the most essential for creating hummingbird photos that make a person’s jaw drop. Creativity is both an act and a result — the unique way you view the world is the final ingredient to creating majestic images of hummingbirds.
Below is one of Stefano’s favorite creative photos (and one of my favorites of his, as well):
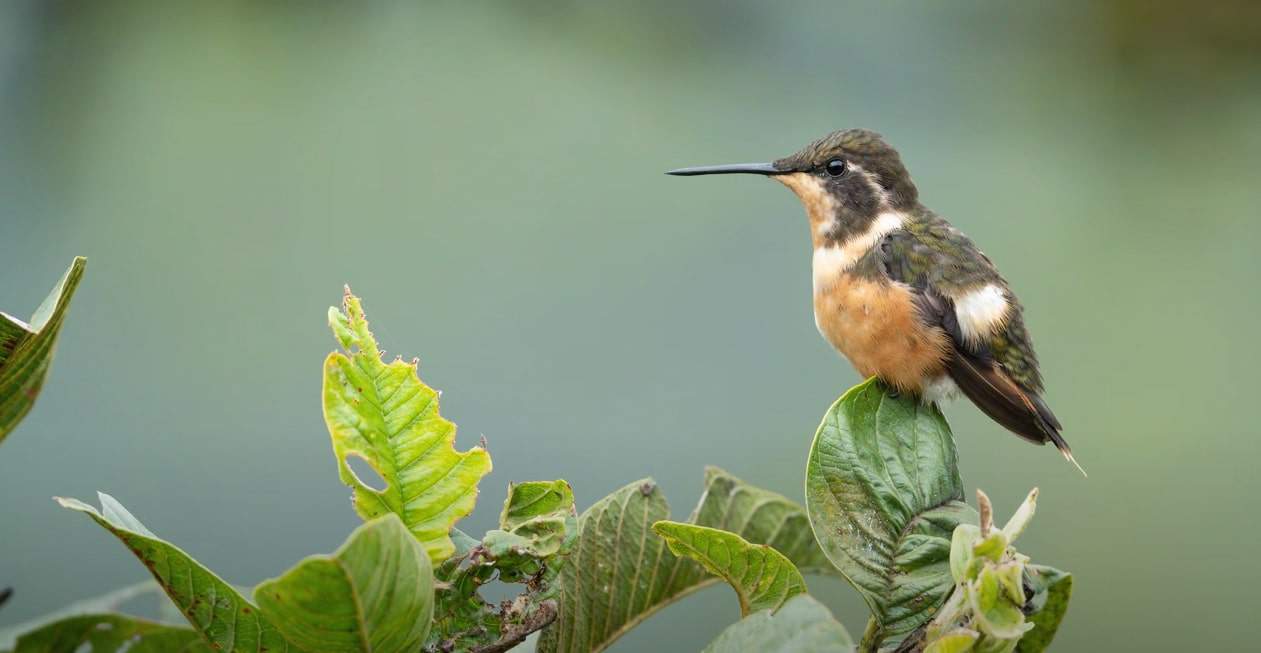
The charming image of a hummingbird perched on a leaf is not only wonderfully composed, but tells an engaging story. It’s the kind of photo that makes you wonder what journey the little guy is on.
Hummingbird Photography Doesn’t Have to Be Intimidating
Capturing sharp images of your favorite hummingbirds isn’t always easy, but Stefano’s tips sure make them less intimidating. The next time you’re out observing a flock at your feeder or garden, give one or two of these a try.
I’ve always adored the iridescent colors and sharp shapes of hummingbirds and regularly take inspiration from them in my paintings. After viewing this video, I’m going to try using burst images more and snapping photos on overcast days to get more striking results.
You can watch the full video below to see him in action:
If you’re curious to learn more about observing or attracting hummingbirds, check out the following articles:

